How to make an evacuation plan for your workplace
What a workplace evacuation plan must show (exits, routes, extinguishers, alarms and the assembly point), the US OSHA rules behind it, and how to draw and post a clear evacuation map.
7 min read · Updated October 21, 2026
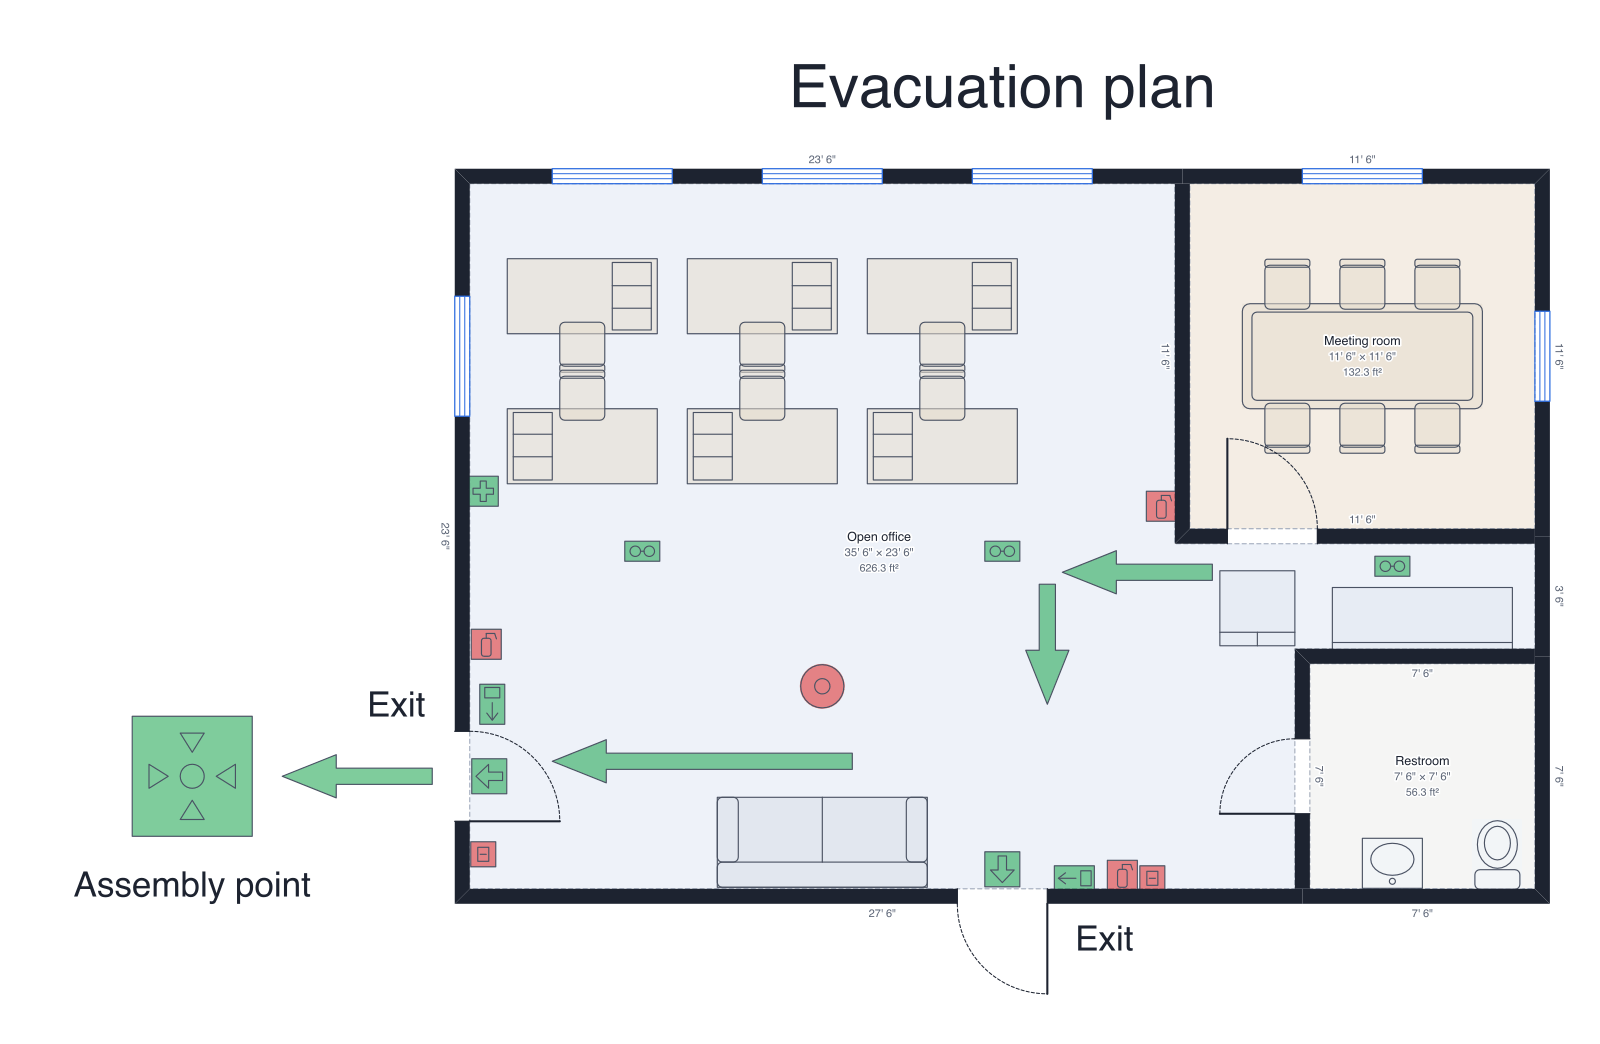
When the alarm goes off, nobody reads a paragraph. They glance at a map on the wall and need to see three things at once: where they are, where the nearest way out is, and where to go once they're outside. A good evacuation plan is that map, drawn from an accurate floor plan, plus a short written plan around it. This guide follows the US rules (OSHA); other countries' rules are similar, and your local fire authority has the final word.
1. Draw the floor accurately
Start from the floor plan at scale: walls, doors, stairs, lifts and the names people use for the rooms. If you have an existing drawing, trace over it; if not, measure the floor. Keep the map plain, with no furniture except what helps people find their way, so the routes stand out.
2. Mark every exit and the routes to them
Mark each exit door, then draw the route from every room to the nearest exit with direction arrows. OSHA asks for at least two exit routes in most workplaces, far enough apart that one fire can't block both, so draw the second route too. Routes must stay clear of storage, never pass through a room that can be locked, and be at least 28 inches wide; local codes often ask for 36 to 44 inches. Exit doors must open from the inside without a key.
3. Add the safety equipment
Mark where the fire extinguishers, the fire alarm pull stations, the emergency lights and the first aid kit are, using the usual symbols. In DrawPlans these are in the Safety group of the library (exit sign, emergency exit, fire extinguisher, fire alarm pull station, emergency light, first aid kit, escape route arrow), and turning on the legend when you export prints what each symbol means beside the map.
4. Mark the assembly point
Choose a spot outside where everyone gathers to be counted: far enough from the building to be safe from smoke and falling glass, away from the road, and clear of where fire trucks will park. Mark it on the map with the assembly point symbol and an arrow from the exits. A site plan can show it in relation to the building and the street.
5. Make one map for each posting spot
A map is easiest to read when it's turned to match the reader: what's ahead of you on the wall is ahead of you on the map. So each posting spot gets its own copy, with a "You are here" marker where it hangs. Post them by the exits, at stairwells and lifts, where corridors meet, and in break and meeting rooms. In DrawPlans, duplicate the plan for each spot, move the marker and rotate the plan, then export each as a PDF at A4 or letter size.
6. Write the plan around the map and practise it
OSHA's emergency action plan also asks for how emergencies are reported, who is responsible for checking each area and for anyone who needs help to get out, how everyone is counted at the assembly point, and who to contact for questions. Keep it short, keep a copy where staff can read it, and run a drill. Each time the layout changes, update the floor plan and print new maps; with the plan saved in DrawPlans, that's a few minutes' work.
Draw yours in DrawPlans
Type your measurements and the plan is to scale from the first wall. Furniture at real size, a 3D view, and a PDF that prints at the scale you choose, with a scale bar. You can draw one plan and see it in 3D before paying.
Start drawingTemplates to start from
- Office evacuation planThe small office with two exits, escape routes, extinguishers, alarms and an assembly point.
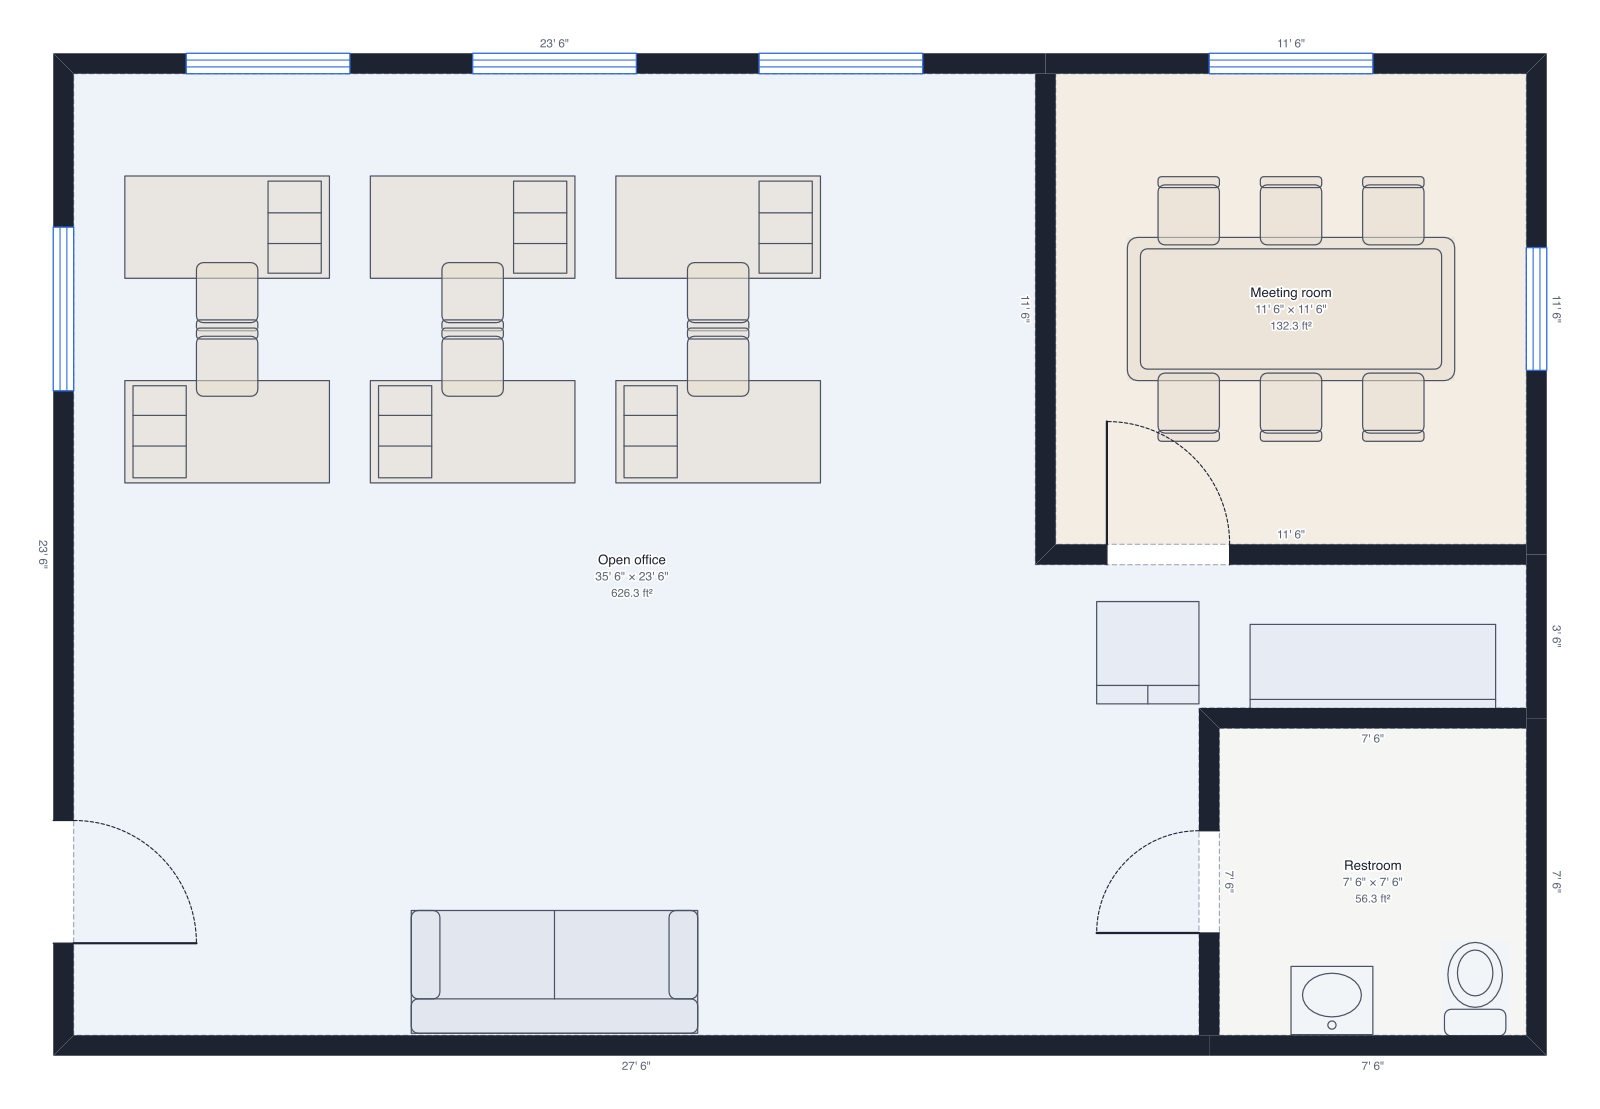 Small office36' × 24', six desks, meeting room, restroom.
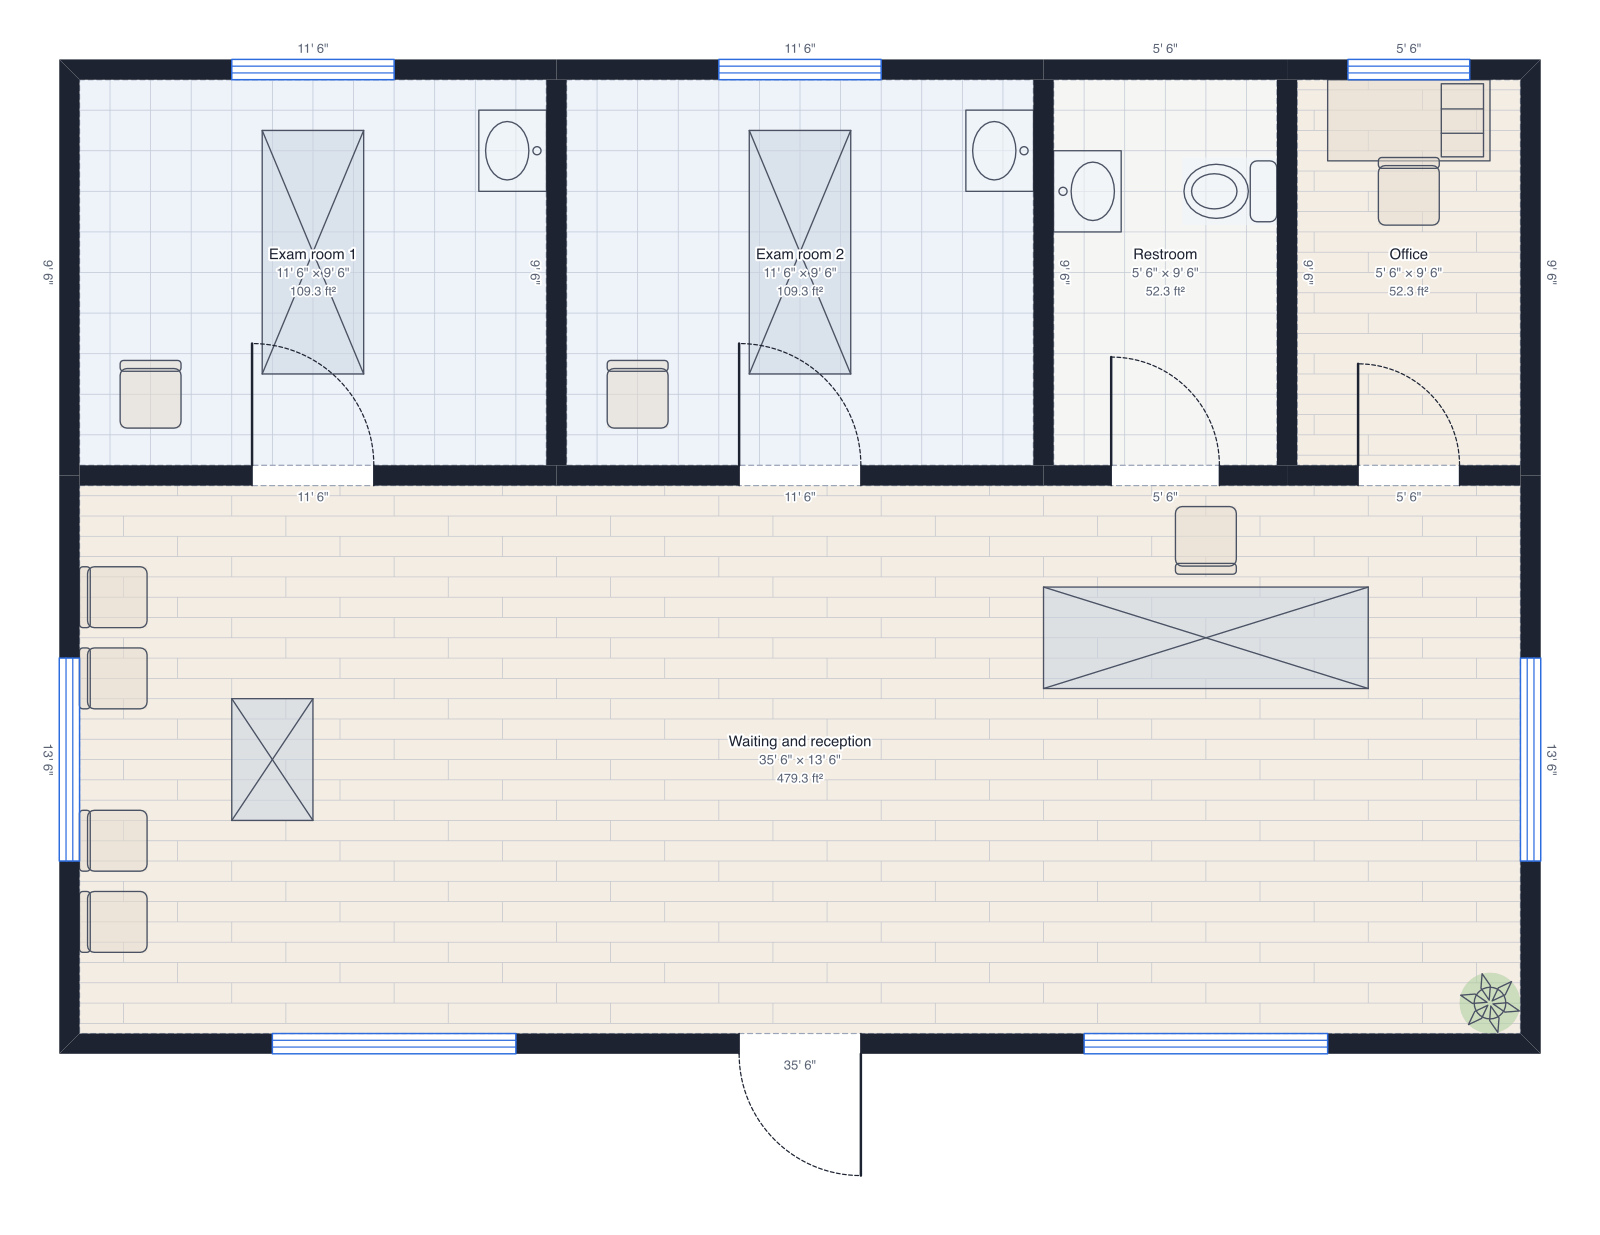 Clinic36' × 24', reception and waiting, two exam rooms, office, restroom.
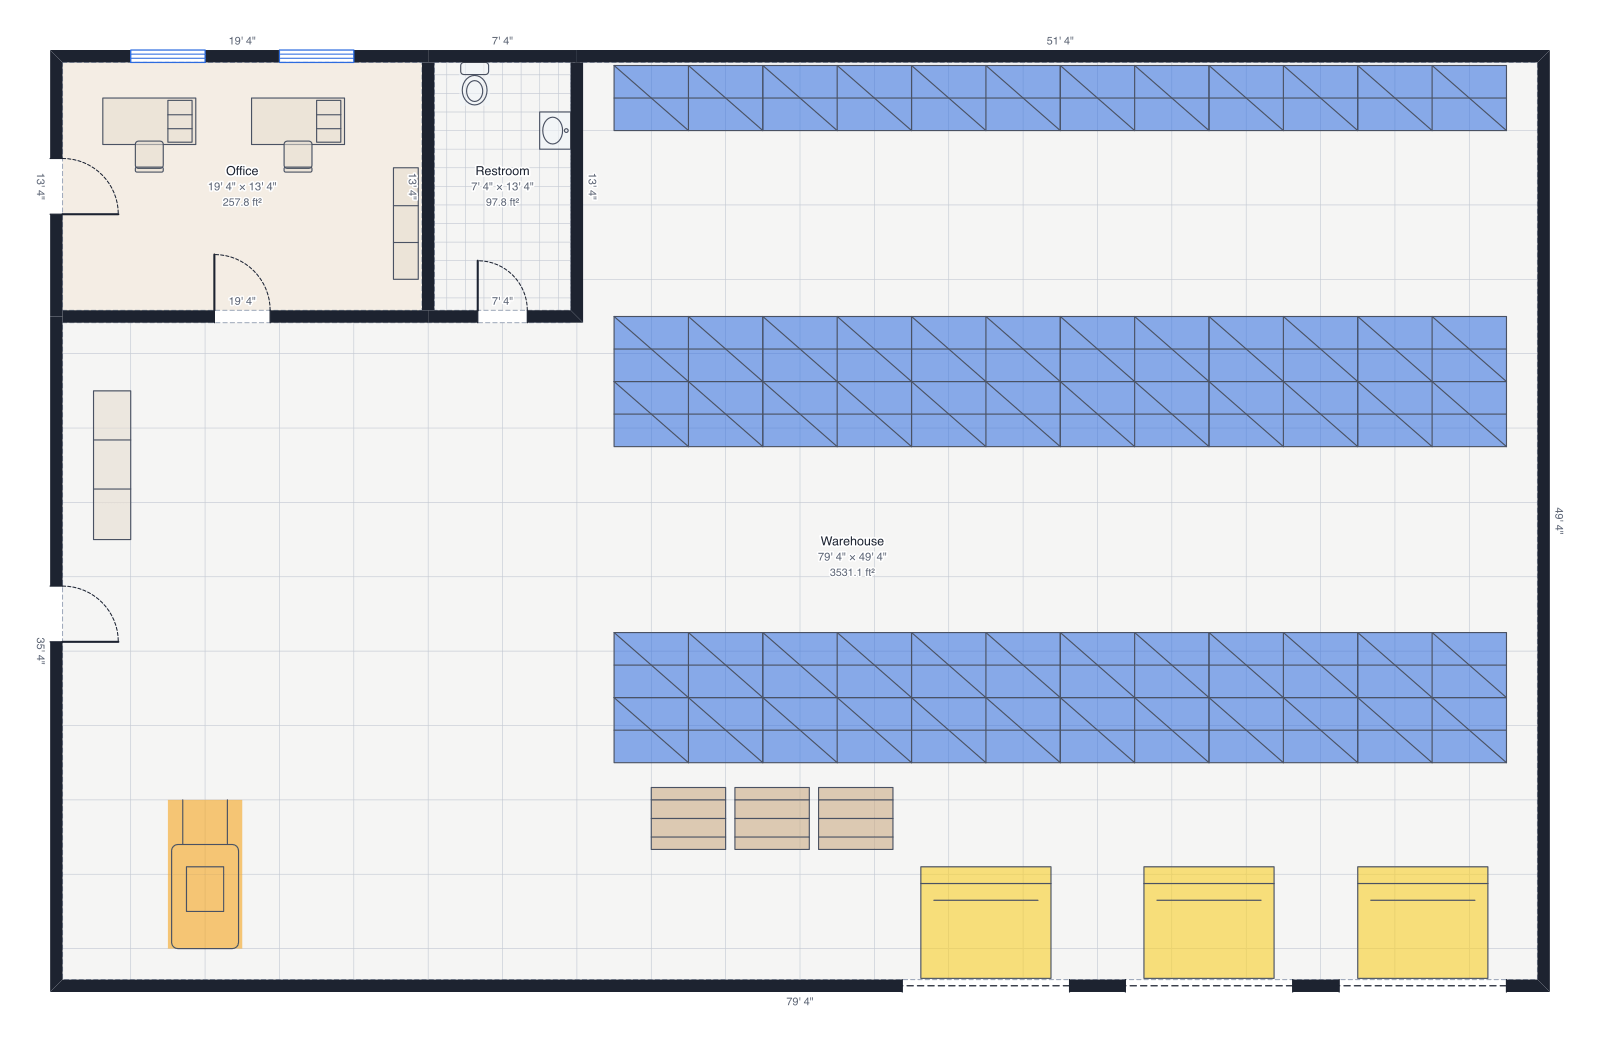 Small warehouse80' × 50', pallet racks, three loading docks, office and restroom.
Questions people ask
- Is an evacuation plan required by law?
- In the US, OSHA requires most employers to have an emergency action plan (29 CFR 1910.38). It must be written down and available to employees, except that an employer with 10 or fewer employees may share it by word of mouth. A posted evacuation map is the usual way to show the exit routes. Other countries have similar rules; check with your local fire authority.
- What must be on an evacuation map?
- A clear floor plan, a 'You are here' marker, the exits and the routes to them (with a second route), fire extinguishers, fire alarm pull stations, first aid, emergency lighting and the outdoor assembly point, plus a legend that explains the symbols.
- How wide must an exit route be?
- OSHA requires exit access to be at least 28 inches wide at every point (29 CFR 1910.36). Local building and fire codes often ask for more, commonly 36 to 44 inches for corridors, depending on how many people use them.
- Where should evacuation maps be posted?
- Near each exit, at stairwells and lifts, at corridor junctions and in rooms where people gather, such as break rooms and meeting rooms. Each copy should show 'You are here' at the spot where it hangs.